Harvesting honey is one of the most rewarding aspects of beekeeping. The process requires careful planning and delicate handling to ensure that both the bees and their keepers remain safe and healthy. This article will walk you through the process of harvesting honey from hive inspection to extraction and bottling, underlining the crucial steps to maintain the vitality of the bee colony.
Hive Inspection: Is It Time to Harvest?
The first step in harvesting honey is to inspect the hive. Not all honey within a hive is ready to be harvested. To be ready for extraction, honey should be fully ripened, which means bees have capped the cells with wax. This capping is a sign that the honey has been dehydrated to the appropriate level and is ready for long-term storage.
Generally, beekeepers aim to harvest honey around late summer or early autumn, giving bees plenty of time to gather nectar during spring and summer from a variety of flowering plants. However, the exact timing depends on local climate and plant species.
Preparing for Harvest: Bee Safety
Before the harvest, you should prepare the necessary tools, including a bee suit, gloves, a smoker, a hive tool, and a bee brush. Wearing protective clothing is vital to prevent bee stings. The smoker is used to calm the bees, making the removal of frames easier.
To minimize disruption to the bees, try to choose a day with good weather, ideally in the afternoon when many bees are out foraging. This way, fewer bees will be disturbed during the extraction process.
Removing Frames and Brushing Off Bees
Once suited up, gently smoke the hive entrance and under the lid, then slowly open the hive to remove the frames. The frames covered in capped honey are the ones ready to be harvested.
Use a bee brush or a feather to gently brush off any bees from the honey frames. Ensure this process is done near the hive, so bees can easily return home.
Uncapping the Honey
The harvested frames are brought to a clean, bee-proof location for extraction. The thin layer of wax capping the honey needs to be removed. This process, called uncapping, can be done using an uncapping knife, fork, or roller. The removed cappings are rich in honey and wax and can be further processed to extract these valuable resources.
Extracting the Honey
After uncapping, the frames are placed in a honey extractor, a device that uses centrifugal force to spin the honey out of the comb. There are manual and electric extractors available, with sizes varying from two-frame to dozens of frames at once.
Ensure the extractor is clean and food-safe. The honey flows out of a tap at the bottom of the extractor and should be filtered to remove any wax or other debris.
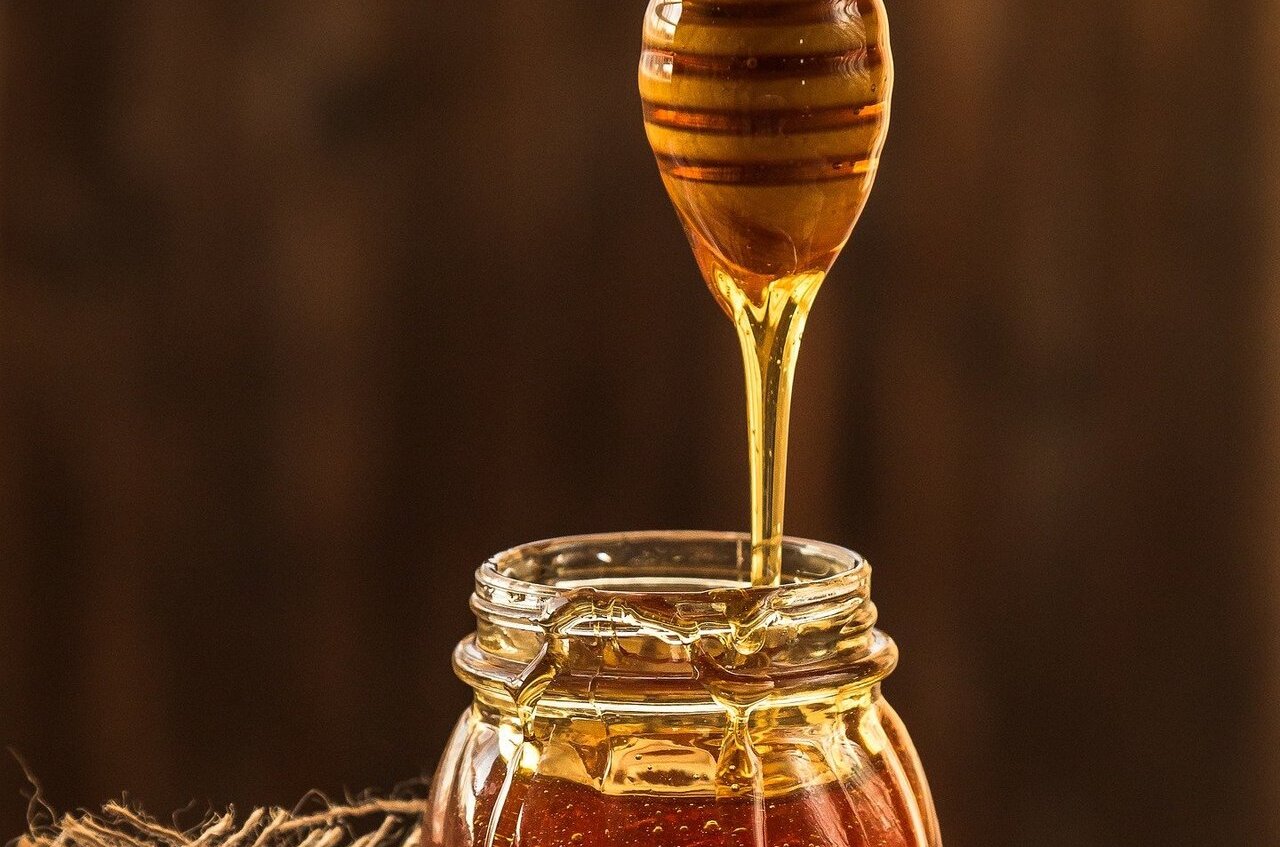
Bottling and Storing Honey
After extraction, the honey should be allowed to settle for a day or two. This step allows air bubbles to rise to the top, creating a clearer product.
Finally, the honey can be bottled. Use clean, dry jars and lids. Store your honey in a cool, dark place. Properly stored honey can last indefinitely, though it may crystallize over time – a natural process that doesn’t impact the quality or safety of the honey.
Post-Harvest Hive Care
After harvesting, it’s essential to ensure that your bees have enough food for the winter. If necessary, supplemental feeding might be required, using a sugar syrup solution.
Harvesting honey is a delicate process that requires careful handling to ensure the bees are minimally disturbed, and the honey is kept clean and pure. While it can be a lot of work, the result – jars of golden, sweet, homemade honey – is undoubtedly worth it. Not only do you get a natural, nutritious product, but you also contribute to pollination and local biodiversity, making beekeeping a truly rewarding endeavor.